> ## Documentation Index
> Fetch the complete documentation index at: https://platform.minimaxi.com/docs/llms.txt
> Use this file to discover all available pages before exploring further.
# 网络搜索 MCP
> 通过 MCP 为 AI 工具接入网络搜索能力。
网络搜索 MCP 提供 `web_search` 工具,帮助 AI 工具在编码过程中获取网络信息。
## 工具说明
根据搜索查询词进行网络搜索,返回搜索结果和相关搜索建议。
| 参数 | 类型 | 必需 | 说明 |
| :- | :- | :-: | :- |
| query | string | ✓ | 搜索查询词 |
## 前置准备
使用您的 M Plan 订阅 Key。
```bash macOS / Linux theme={null}
curl -LsSf https://astral.sh/uv/install.sh | sh
```
```powershell Windows theme={null}
powershell -ExecutionPolicy ByPass -c "irm https://astral.sh/uv/install.ps1 | iex"
```
其他安装方式可参考 [uv 仓库](https://github.com/astral-sh/uv)。
```bash macOS / Linux theme={null}
which uvx
```
```powershell Windows theme={null}
(Get-Command uvx).source
```
若正确安装,会显示路径(如 `/usr/local/bin/uvx`)。若报错 `spawn uvx ENOENT`,需配置绝对路径。
## 在 Claude Code 中使用
在 [Claude Code 官网](https://www.claude.com/product/claude-code)下载并安装 Claude Code
在终端运行以下命令,将`api_key`替换为您的 API Key:
```bash theme={null}
claude mcp add -s user MiniMax --env MINIMAX_API_KEY=api_key --env MINIMAX_API_HOST=https://api.minimax.cn -- uvx minimax-coding-plan-mcp
```
编辑配置文件 `~/.claude.json`,添加以下 MCP 配置:
```json theme={null}
{
"mcpServers": {
"MiniMax": {
"command": "uvx",
"args": ["minimax-coding-plan-mcp"],
"env": {
"MINIMAX_API_KEY": "MINIMAX_API_KEY",
"MINIMAX_API_HOST": "https://api.minimax.cn"
}
}
}
}
```
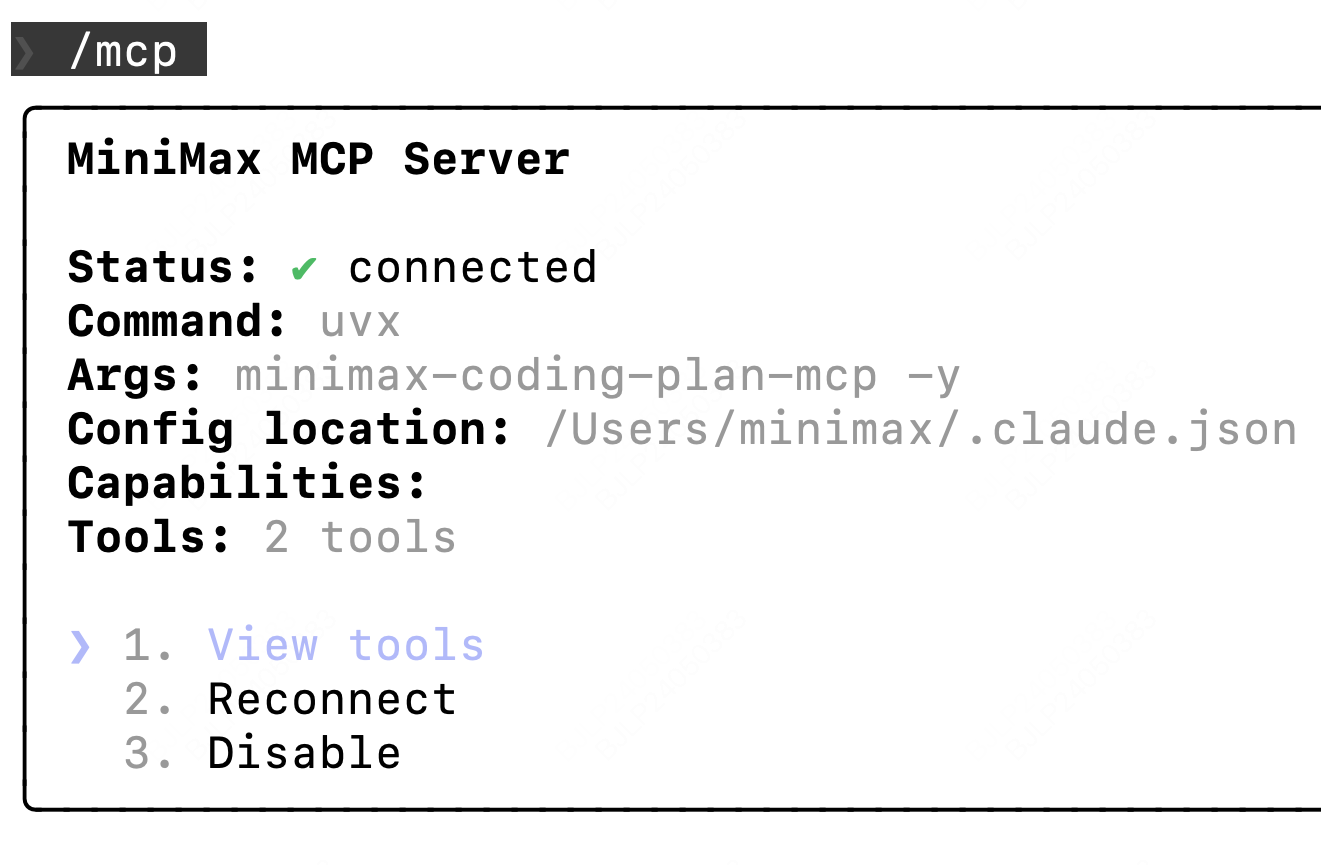
进入 Claude Code 后输入 `/mcp`,能看到 `web_search`,说明配置成功。
 ## 在 Cursor 中使用
通过 [Cursor 官网](https://cursor.com/) 下载并安装 Cursor
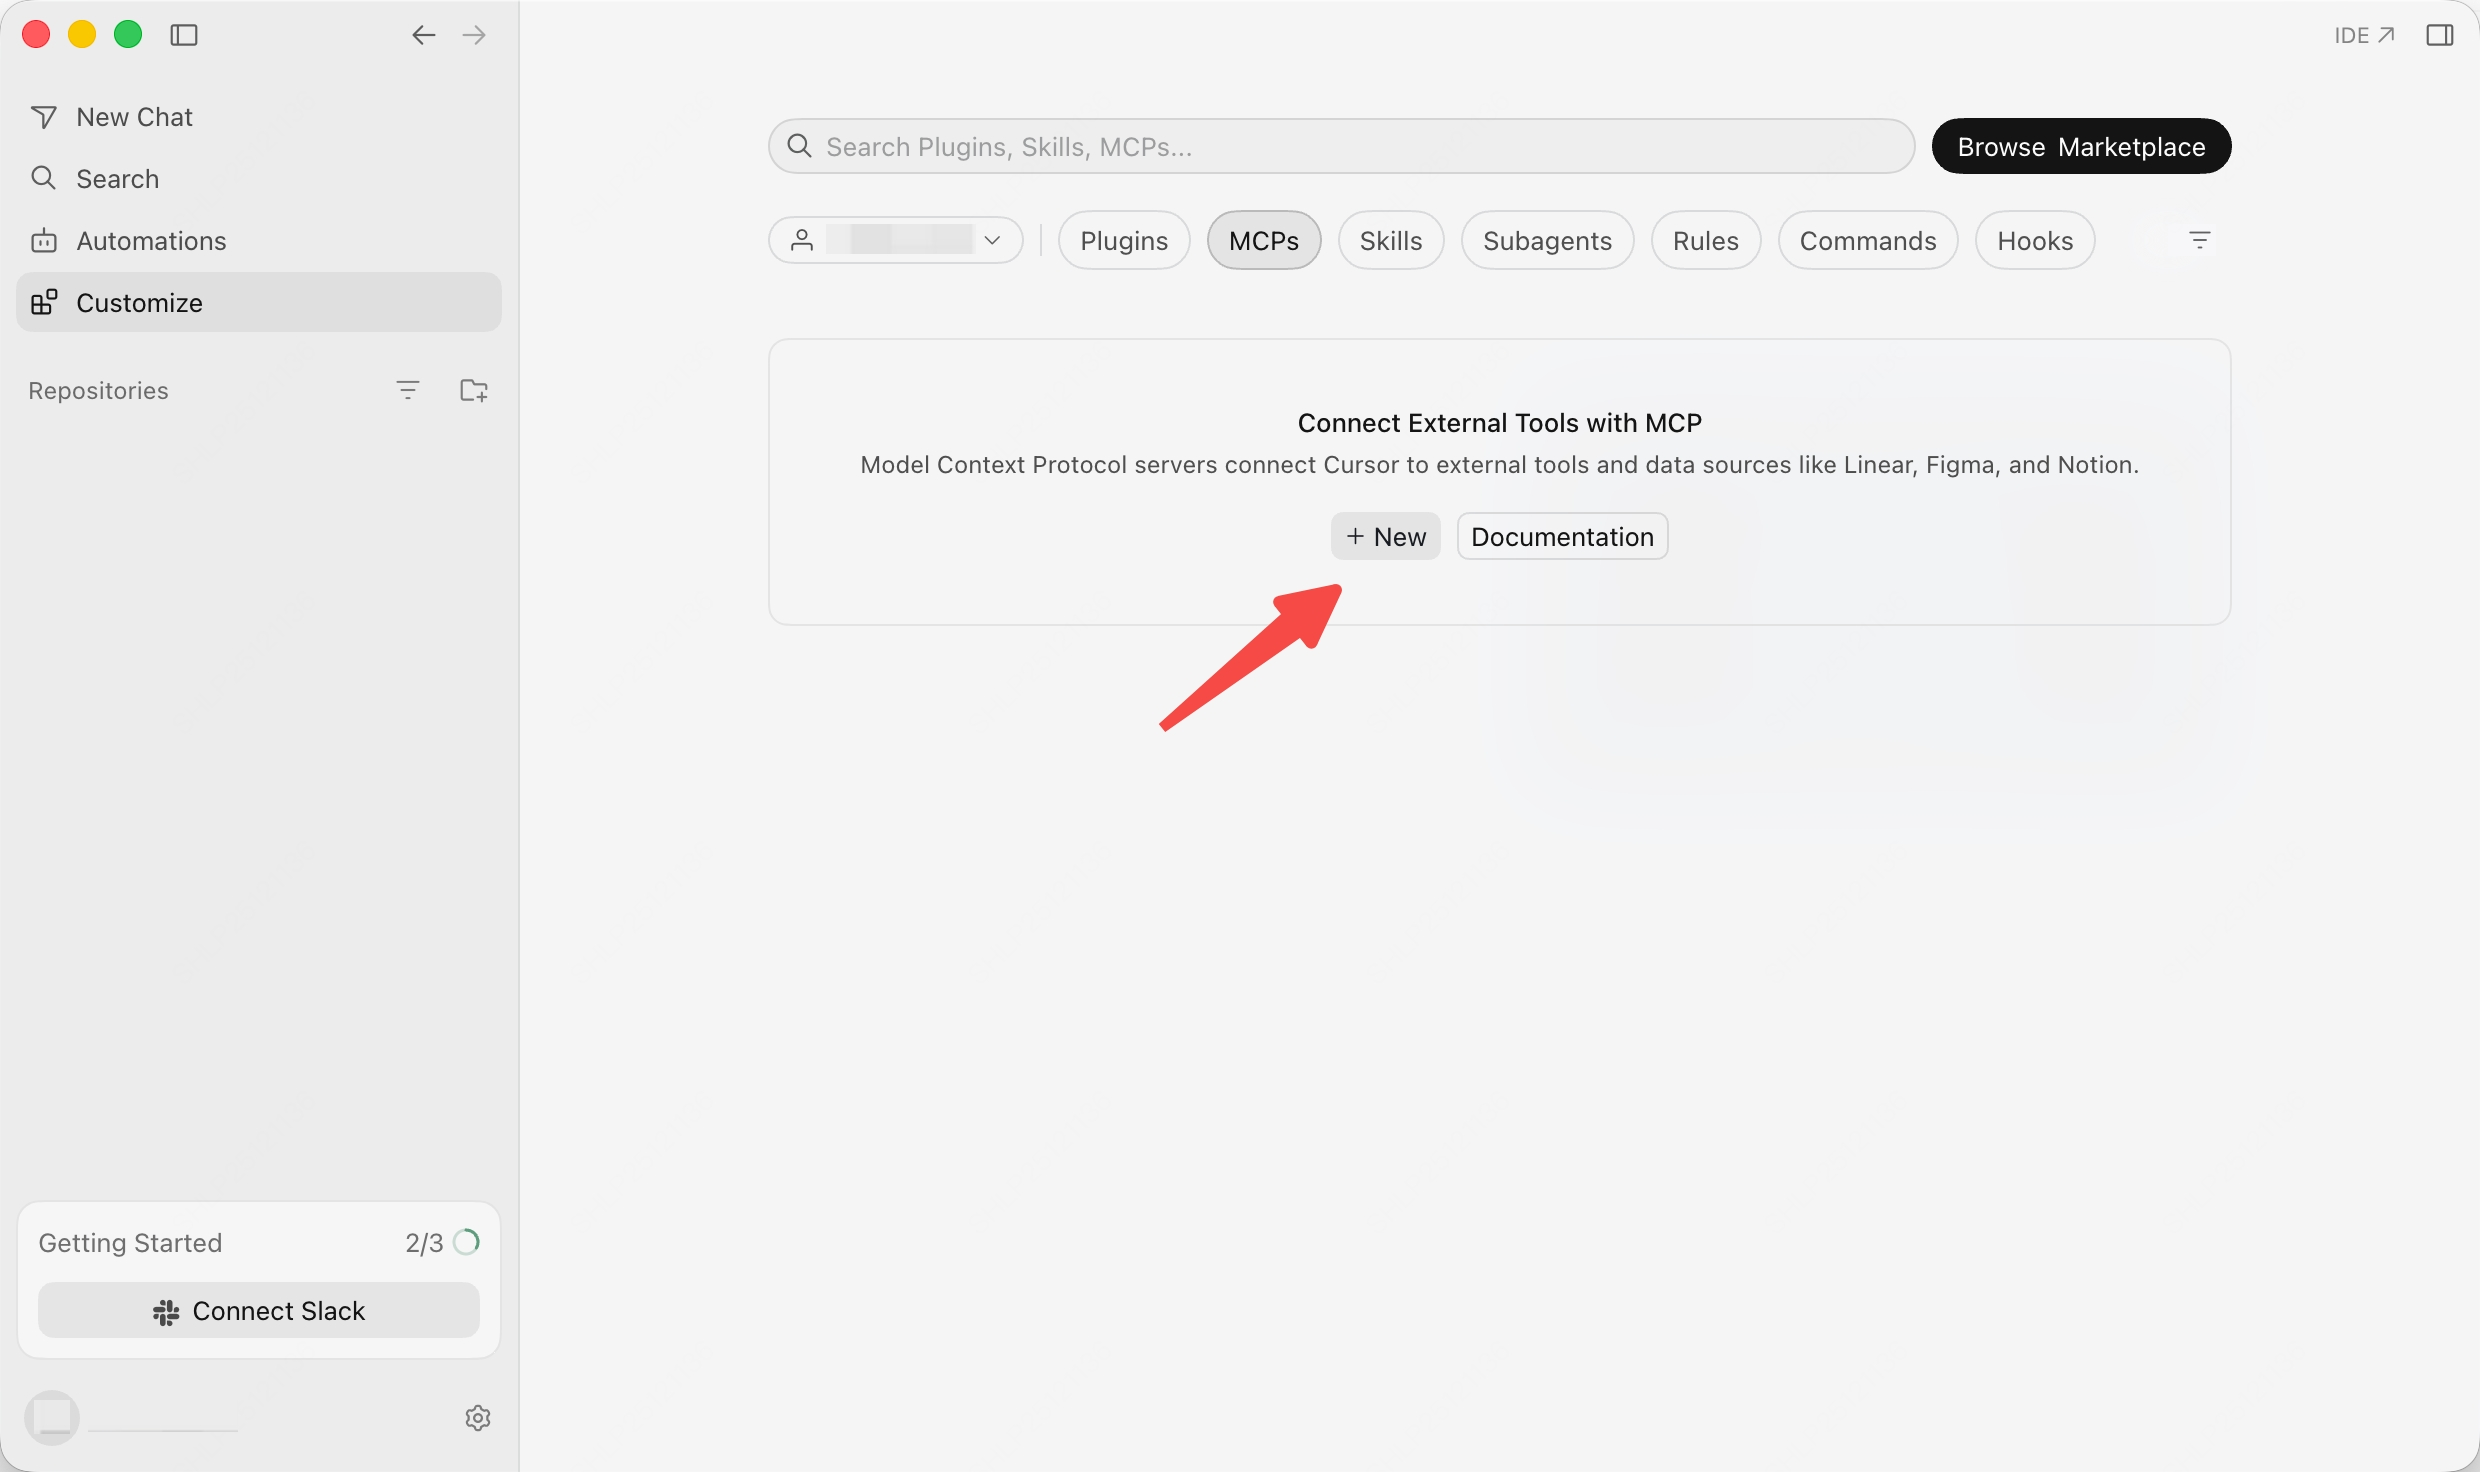
打开 `Customize -> MCPs`,点击 `New` 创建 MCP Server
在 `mcp.json` 文件中添加以下配置:
```json theme={null}
{
"mcpServers": {
"MiniMax": {
"command": "uvx",
"args": ["minimax-coding-plan-mcp"],
"env": {
"MINIMAX_API_KEY": "填写你的 API Key",
"MINIMAX_API_HOST": "https://api.minimax.cn"
}
}
}
}
```
## 在 OpenCode 中使用
通过 [OpenCode 官网](https://opencode.ai/) 下载并安装 OpenCode
编辑配置文件 `~/.config/opencode/opencode.json`,添加以下 MCP 配置:
```json theme={null}
{
"$schema": "https://opencode.ai/config.json",
"mcp": {
"MiniMax": {
"type": "local",
"command": ["uvx", "minimax-coding-plan-mcp"],
"environment": {
"MINIMAX_API_KEY": "MINIMAX_API_KEY",
"MINIMAX_API_HOST": "https://api.minimax.cn"
},
"enabled": true
}
}
}
```
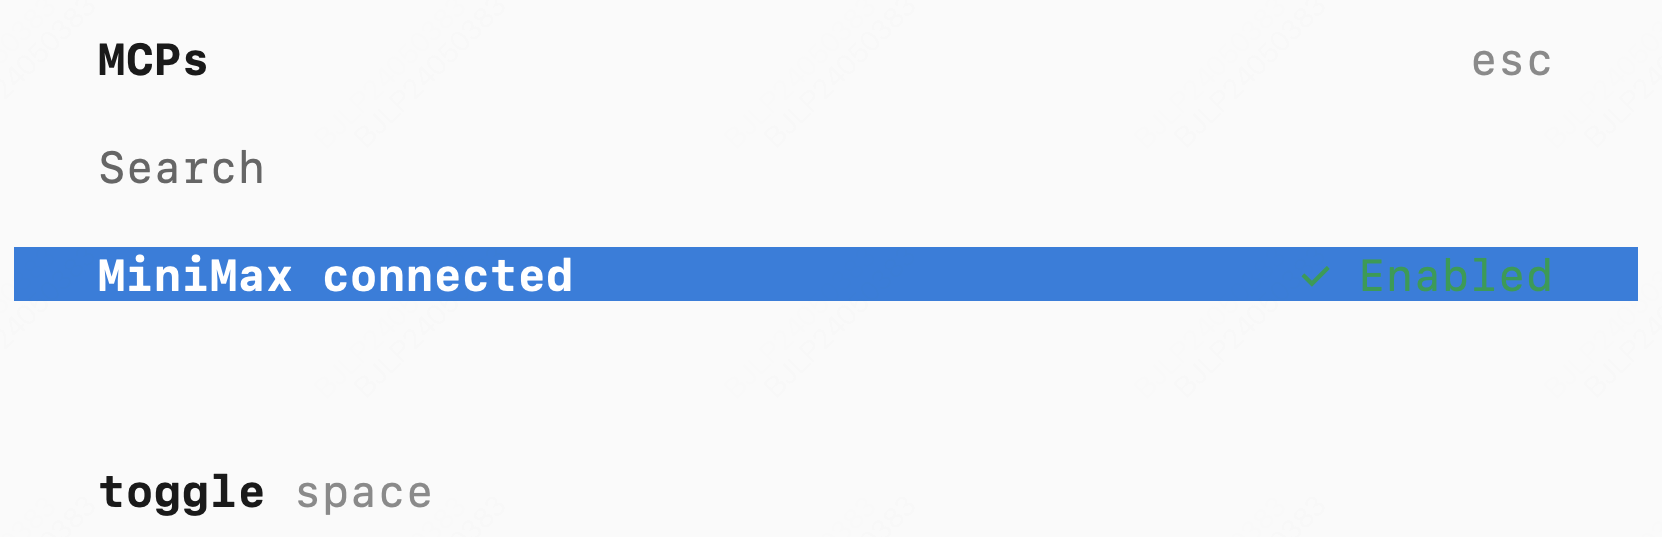
进入 OpenCode 后,输入 `/mcp`,能看到 `MiniMax connected`,说明配置成功。
## 在 Cursor 中使用
通过 [Cursor 官网](https://cursor.com/) 下载并安装 Cursor
打开 `Customize -> MCPs`,点击 `New` 创建 MCP Server

在 `mcp.json` 文件中添加以下配置:
```json theme={null}
{
"mcpServers": {
"MiniMax": {
"command": "uvx",
"args": ["minimax-coding-plan-mcp"],
"env": {
"MINIMAX_API_KEY": "填写你的 API Key",
"MINIMAX_API_HOST": "https://api.minimax.cn"
}
}
}
}
```
## 在 OpenCode 中使用
通过 [OpenCode 官网](https://opencode.ai/) 下载并安装 OpenCode
编辑配置文件 `~/.config/opencode/opencode.json`,添加以下 MCP 配置:
```json theme={null}
{
"$schema": "https://opencode.ai/config.json",
"mcp": {
"MiniMax": {
"type": "local",
"command": ["uvx", "minimax-coding-plan-mcp"],
"environment": {
"MINIMAX_API_KEY": "MINIMAX_API_KEY",
"MINIMAX_API_HOST": "https://api.minimax.cn"
},
"enabled": true
}
}
}
```
进入 OpenCode 后,输入 `/mcp`,能看到 `MiniMax connected`,说明配置成功。